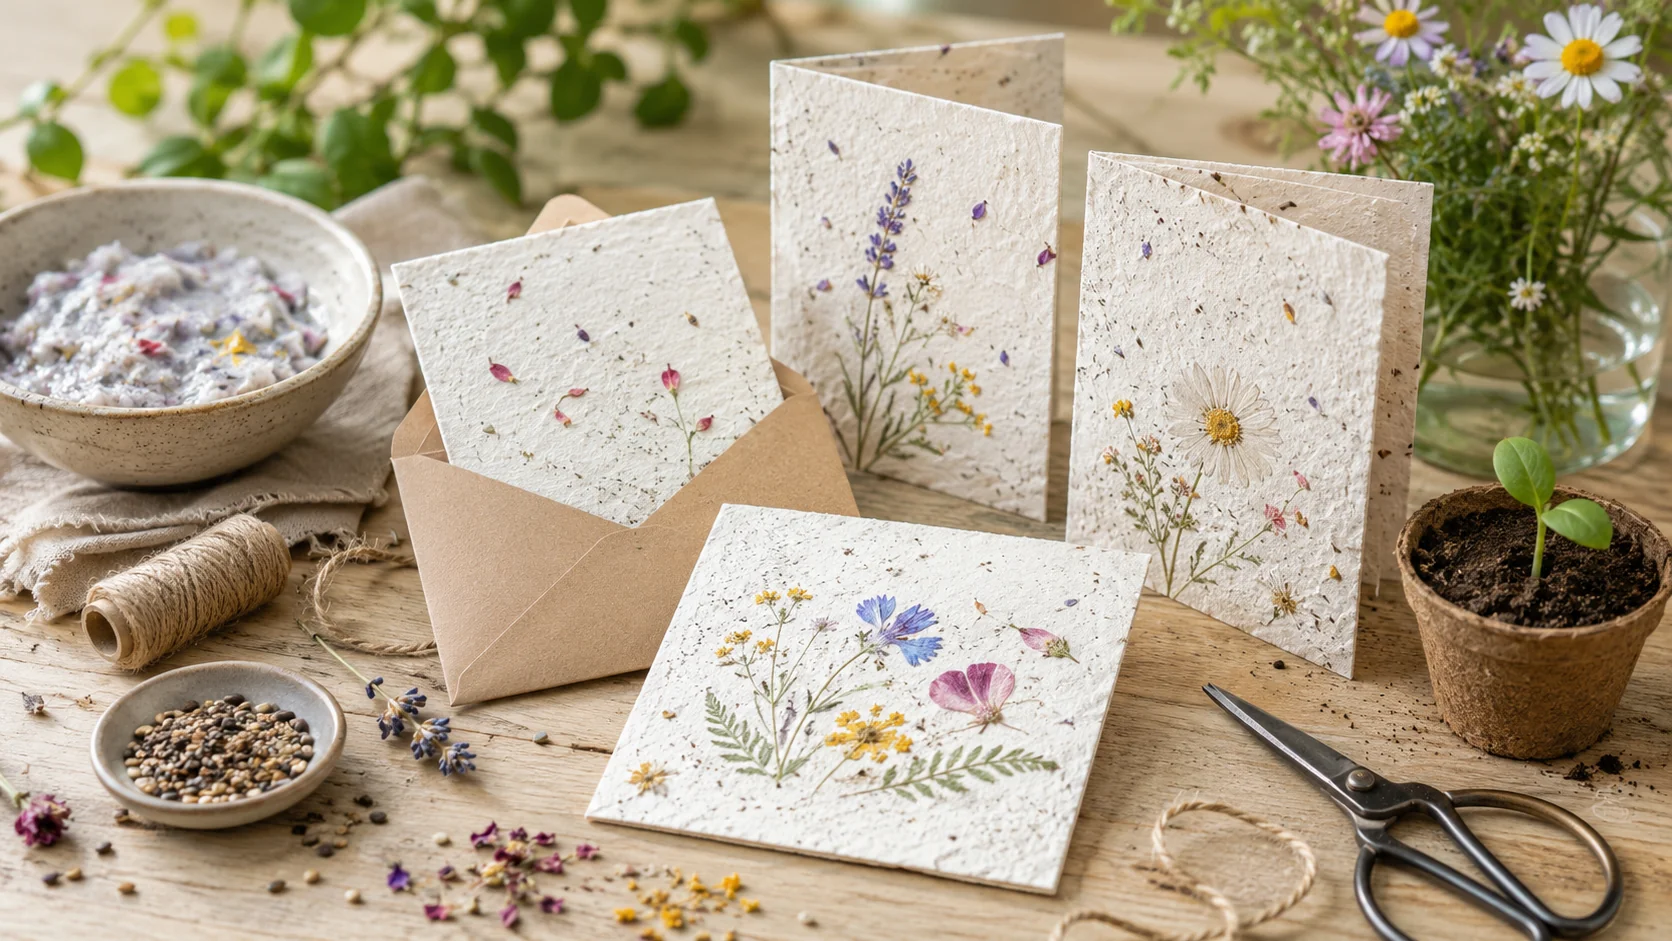
How to Make Plantable Seed-Paper Greeting Cards
Introduction
Plantable seed paper greeting cards combine a handmade card with a small future garden. The recipient tears or plants the paper, keeps it moist, and waits for the embedded seeds to germinate.
The project is simple in concept but benefits from careful seed choice, thin paper pulp, thorough drying, and honest planting instructions. Not every seed survives papermaking, and not every climate suits every seed mix.
Choose seeds responsibly
Use small seeds that tolerate moisture and handling, such as certain wildflowers, herbs, or lettuce. Large seeds create thick, fragile paper and may not bond well with the pulp.
Lettuce can be especially useful if you want to make an edible version of the card, and it can also be How to Grow Salad Greens Indoors: A Beginner’s Guide.
Avoid invasive species and vague seed mixes. When possible, choose native or regionally appropriate seeds.
Choose seeds appropriate for the recipient’s region or state that the card should be planted in a container. When mailing across regions, local seed restrictions may apply.
Planting season matters too, particularly with cool-season crops such as lettuce, which can struggle in hot weather.
Materials
Gather clean recycled paper without glossy coatings, warm water, a blender used for crafts or cleaned thoroughly, a mold and deckle or fine screen, towels, a sponge, a basin, seeds, and a flat drying surface.
You will also need cardstock or a card base if the seed paper will be mounted rather than folded on its own.
Prepare the paper pulp
Tear paper into small pieces and soak it in warm water until soft. Blend small batches with additional water until the mixture resembles loose pulp.
Do not add seeds to the blender. The blades can damage them. Transfer the finished pulp to a basin first.
Add the seeds
Stir seeds gently into the pulp after blending. Use enough to distribute them through the sheet without turning the paper into a gravel road.
Keep the mixture moving gently while forming sheets so the seeds do not settle into one corner.
Form the sheets
Dip the screen or mold and deckle into the pulp mixture, lift it level, and allow water to drain. Adjust thin spots with a small amount of pulp.
Thinner sheets dry more evenly and are easier to plant. Extremely thick paper may mold before it dries and can make germination more difficult.
Press out water
Place the wet sheet onto a towel or absorbent surface. Use a sponge to press water out through the screen, then lift the screen carefully.
Avoid aggressive rubbing, which can dislodge seeds or tear the pulp.
Dry thoroughly
Air-dry the sheets flat in a well-ventilated area. Change damp towels when needed. Avoid high heat, which can reduce seed viability.
The paper must be completely dry before storage, decoration, or mailing. Any cool, damp, or flexible area needs more time.
Turn plantable seed paper into a greeting card
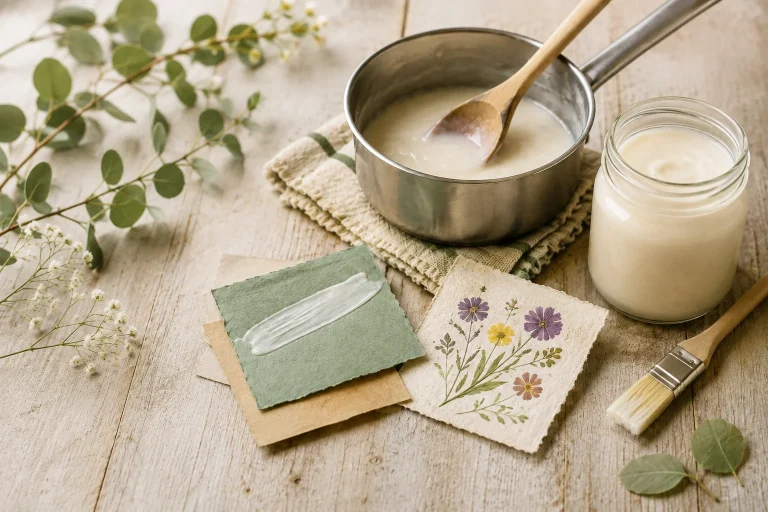
Use the seed paper as a small front panel, tag, insert, or entire postcard-sized piece. Mounting it to ordinary cardstock creates a sturdier greeting card while keeping the plantable element removable.
Use minimal adhesive and place it where the recipient can detach the seed paper easily. If you prefer a simple DIY adhesive, you can also make your own homemade flour glue for attaching lightweight paper elements.
Decorating without blocking germination
Stamp lightly with water-based ink, add a small paper label, or tie the seed paper with twine. Avoid laminates, heavy paint, glitter, plastic coatings, and large adhesive areas.
Write the main message on the card base rather than covering the plantable sheet with ink.
Add planting instructions
Include the seed type, approximate planting depth, moisture guidance, light needs, and the best planting season. A simple instruction might tell the recipient to place the paper on damp soil, cover it lightly, keep it moist, and provide suitable light.
If you are using lettuce seed and the card may be planted indoors, include enough information about its light requirements for the recipient to choose a suitable location.
Do not promise germination. Seeds are living materials affected by age, storage, weather, soil, and care.
Test before gifting or selling
Make a small test batch and plant several pieces. Record drying time, paper thickness, germination rate, and how easily the paper breaks down.
Testing is especially important if you plan to sell cards or claim that a specific seed variety is included.
Common problems
Paper that crumbles needs more fiber or gentler handling. Paper that remains wet is too thick or lacks airflow. Seeds concentrated in clumps were not stirred evenly. Low germination may result from damaged, old, unsuitable, or overheated seeds.
A test batch turns these problems into useful adjustments rather than surprises mailed to someone else.
Final thoughts
Plantable seed paper works best when the papercraft and gardening instructions support each other.
Keep the sheet thin, the decoration light, the seed information clear, and the promise realistic. The quiet charm is in giving someone the possibility of flowers, not a contractual obligation from nature.