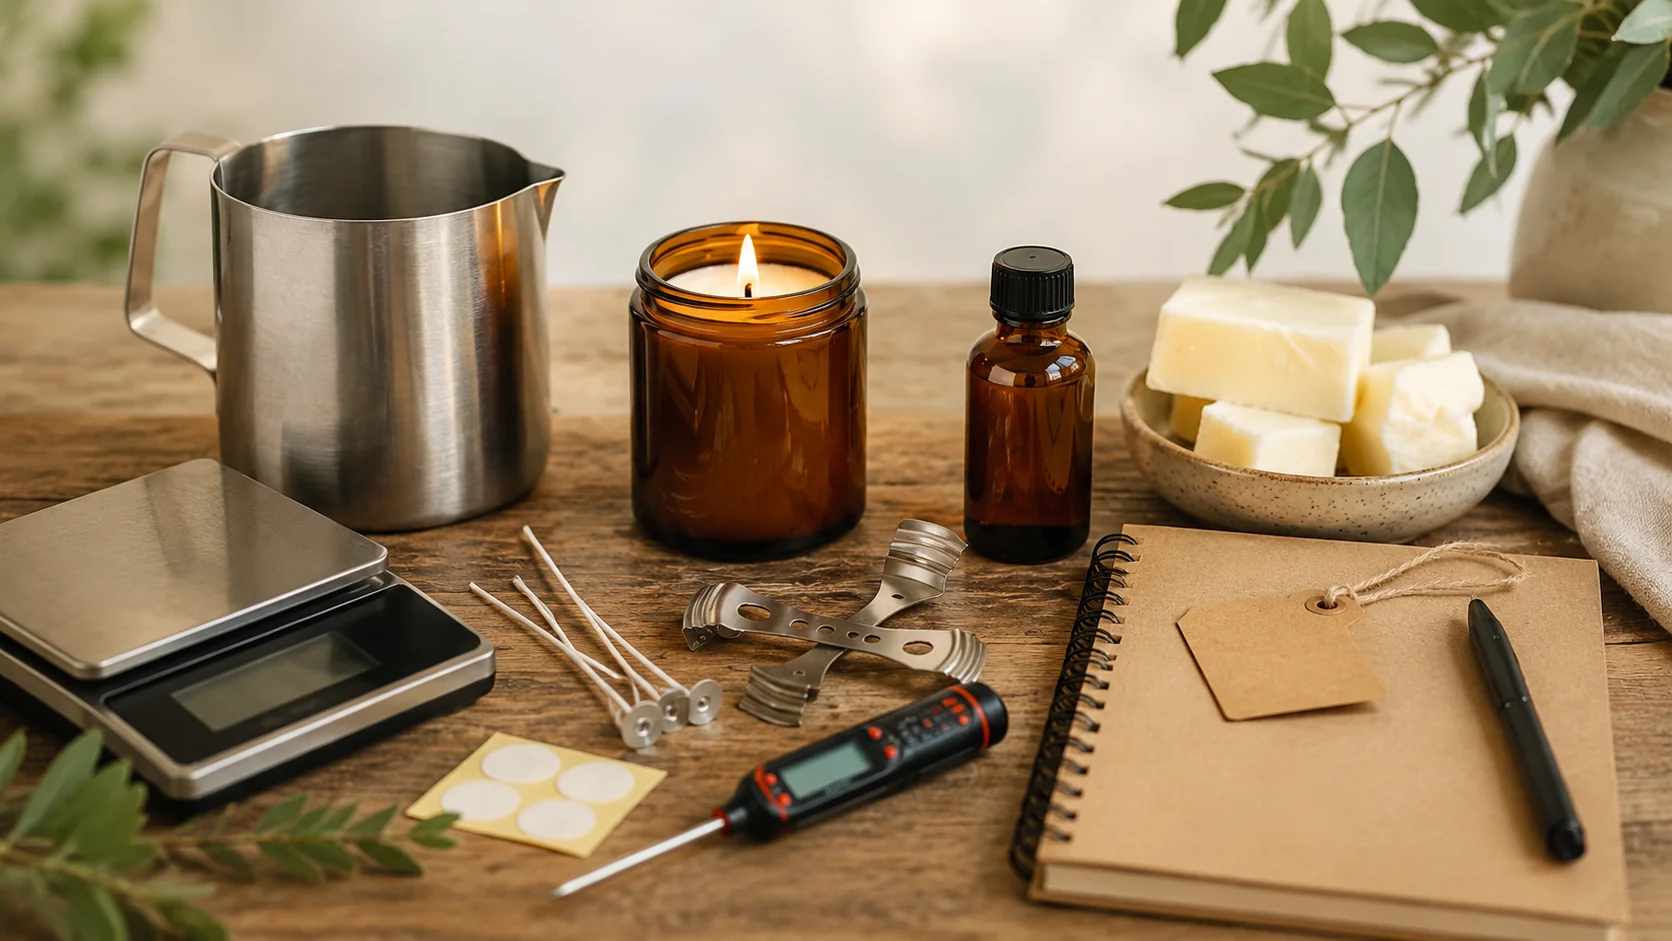
Beginner Container Candle Making: 10 Supplies You Actually Need
Introduction
Beginner container candle making can look deceptively simple because the finished object is familiar: wax, wick, fragrance, and a jar. But making a candle that burns safely and consistently requires more precision than that tidy list suggests.
A dependable setup prioritizes accurate measuring, heat-safe equipment, compatible materials, and repeated burn testing. Decorative accessories can wait. Fire safety and predictable performance cannot.
If you’re just getting started, you do not need an enormous collection of waxes, fragrances, vessels, and specialized equipment. Start with a small group of compatible materials, learn how they behave together, and expand from there.
A safety note before buying candle-making supplies
Candle making involves hot wax, fragrance materials, open flame during testing, and containers that become warm. Work in a clear, ventilated area away from children, pets, food preparation, and flammable clutter.
Keep a suitable fire extinguisher nearby, never leave heating wax unattended, and follow the wax, fragrance, wick, and vessel manufacturers’ instructions. Water should not be used on a wax fire. For additional candle fire-safety guidance, see the National Candle Association’s safety tips.
Safety should influence what you buy from the beginning. A bargain jar or mystery fragrance is not much of a bargain if you cannot verify that it is appropriate for candle making.
1. Container-safe wax
Choose wax specifically intended for container candles. Common options include soy blends, paraffin blends, coconut blends, and other waxes formulated for use in vessels.
Different waxes have different melting, fragrance, pouring, cooling, and curing requirements. Begin with one wax and learn it before building a collection of half-understood bags.
When choosing your first wax, look for a supplier that provides clear instructions for recommended temperatures, fragrance loads, cure times, and wick testing.
2. Tested candle containers
Use vessels sold or documented for candle use. Ordinary drinking glasses, thrifted ceramics, and decorative jars may contain hidden flaws or may not tolerate repeated heat cycles.
The National Candle Association’s overview of candle safety standards explains the standards covering candle containers, labeling, and fire safety.
Inspect every container before pouring. Look for chips, cracks, bubbles, uneven bases, or other visible damage.
For your first test batches, using several identical containers is much more useful than experimenting with a different jar for every candle. Vessel diameter and shape affect how a candle burns, so keeping the container consistent removes one variable from your testing.
3. Appropriate candle wicks
Wick selection depends on the wax, vessel diameter, fragrance load, dye, and overall candle design. Wick-size charts provide a starting point, not a guaranteed final answer.
Purchase a small range of wick sizes near the supplier’s suggestion and test each candle through full burn cycles. Pre-tabbed wicks are particularly convenient for beginners because the metal tab at the base is already attached.
If you’re ready to narrow down your options, see How to Choose a Wick for Container Candles for a step-by-step look at wick sizing, wax compatibility, and choosing nearby sizes to test.
Avoid assuming that a larger wick is automatically better. Your goal is not simply to melt wax quickly. You are looking for a controlled flame and consistent performance throughout the life of the candle.
4. A digital scale
Measure wax and fragrance by weight rather than volume. A digital scale with suitable capacity and precision is one of the most important tools in a beginner candle-making setup.
Place the scale on a stable surface and use the tare function to subtract the weight of your empty container or pouring pitcher.
Consistent measurements matter because testing only tells you something useful when you can reproduce what you made.
5. A heat-safe pouring pitcher
A metal pouring pitcher gives you a controlled vessel for melting or transferring wax. Use equipment dedicated to candle making rather than cookware that will later return to food use.
Choose a pitcher large enough to hold your batch comfortably with room above the wax for stirring without spilling.
For beginner-sized batches, there is little reason to start with a large production melter. A simple pouring pitcher allows you to learn the process without committing money or storage space to equipment you may not need.
6. A reliable thermometer
Temperature affects fragrance incorporation, pouring behavior, adhesion, surface finish, and safety. Use a reliable thermometer suited to the temperature range required by your chosen wax.
Measure the temperature of the wax itself, not merely the surrounding water if you are working with a double-boiler setup.
Follow the temperature guidance provided for your specific wax rather than assuming that every candle wax should be heated and poured the same way.
7. Fragrance oil designed for candles
Use fragrance oils from suppliers that provide candle-use guidance, safe-use information, and recommended limits.
Essential oils are not automatically safe or effective for candle making simply because they are natural. Materials intended for diffusers, soaps, perfumes, or other products are not necessarily appropriate for use in a burning candle.
The International Fragrance Association explains its fragrance safety standards, including restrictions and maximum-use guidance for fragrance materials.
Never exceed the wax or fragrance supplier’s recommended fragrance load. More fragrance does not automatically produce a better candle. Excess fragrance can contribute to poor burning, sweating, smoke, soot, and other performance problems.
For your first testing series, choose one fragrance rather than several. Once you find a wax, vessel, and wick combination that performs well, you can begin testing how other fragrances affect it.
8. Wick stickers and centering tools
Wick stickers or another approved attachment method secure the wick tab to the base of the container. Centering bars, clips, or simple wick holders keep the wick upright and centered as the wax cools.
A centered wick supports more predictable burning and makes test results easier to compare.
These tools are inexpensive compared with many candle-making accessories, and they solve two problems that are particularly irritating to correct after wax has already been poured.
9. Stirring and cleanup tools
Keep heat-safe stirrers, paper towels, a protected work surface, and other basic cleanup supplies with your candle-making equipment.
Whenever possible, wipe liquid wax from tools before it hardens. Do not pour leftover wax down a drain.
Wax residue can generally be allowed to solidify before disposal according to the appropriate guidance for your area and materials.
Keeping a few tools dedicated entirely to candle making also prevents fragrance and wax residue from wandering back into your kitchen equipment.
10. Labels and a testing notebook
Label every test candle with enough information to identify exactly what you made. Useful details include:
- Wax
- Fragrance name
- Fragrance percentage
- Wick series and size
- Vessel
- Pour date
- Batch number
For simple paper labels on test candles, you can even use a small amount of homemade flour glue to affix the label temporarily to the outside of the container. For finished candles intended for gifting or selling, use labeling materials appropriate for the container and its intended use.
Keep the rest of your testing information in a notebook or spreadsheet. Record measurements, temperatures, cure time, and what happens during each burn test.
A notebook turns testing into evidence. Without records, repeated batches can become a scented fog of vague recollection.
How Much Equipment Does Beginner Container Candle Making Require?
Not much.
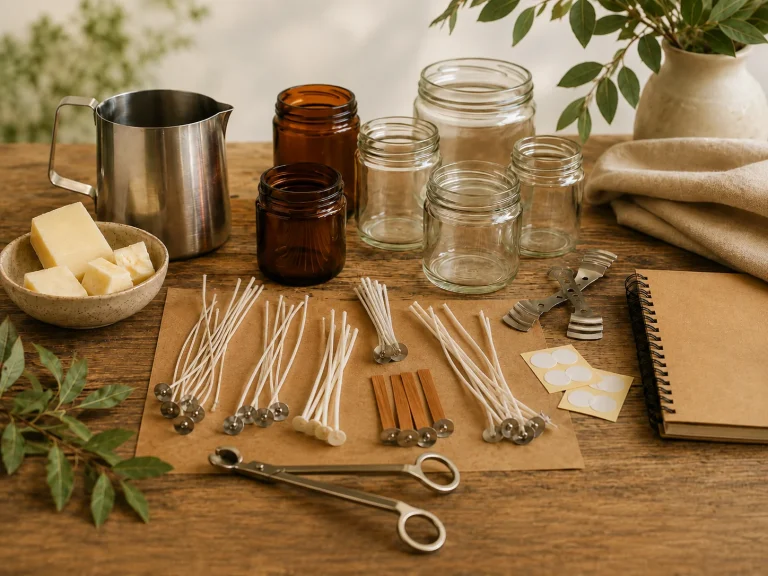
A basic testing setup requires a digital scale, thermometer, pouring pitcher, several identical candle-safe containers, one container wax, one fragrance, wick attachment supplies, and a few nearby wick sizes.
The important word is compatible.
Buying one wax from one supplier, then five random fragrances, three styles of containers, several wick families, and a box of decorative accessories gives you plenty of materials but not necessarily a useful candle-making system.
For your first batches, consistency is more valuable than variety.
What to Skip in Beginner Container Candle Making
One advantage of beginner container candle making is that you do not need large fragrance collections, elaborate molds, premium packaging, multiple wax systems, dye libraries, or production-sized melters.
You also do not need to make twenty candles at once.
Buy enough materials to make a controlled series of test candles in one vessel using one wax. Add equipment when you encounter a genuine need for it rather than trying to anticipate every possible candle you might someday make.
A sensible first candle-testing plan
A controlled testing plan is one of the most useful habits in beginner container candle making because it allows you to change one variable at a time and compare the results.
Select:
- One candle-safe container
- One container wax
- One fragrance
- Three nearby wick sizes
Make otherwise identical test candles so that the wick size is the primary variable between them.
Allow the candles to cure according to your wax and fragrance suppliers’ guidance before beginning your burn tests.
Burn each candle in controlled sessions on a heat-resistant surface. Trim the wicks consistently and record what happens during every session.
Pay attention to:
- Flame behavior
- Melt-pool development
- Smoke
- Soot
- Mushrooming or carbon buildup on the wick
- Container temperature
- Fragrance performance
- Wax remaining after each burn
- Changes in performance as the candle burns lower into the vessel
Do not judge a wick solely by what happens during the first burn. The relationship between the flame, wax, and container changes as the candle burns down.
That is why complete testing matters.
When is a candle ready to gift or sell?
A candle is not ready merely because it smells good while cold or burns acceptably for one hour.
Before giving a handmade candle to someone else, complete repeated burn tests through the life of the container and document the results. If you change the wax, wick, fragrance, fragrance percentage, dye, vessel, or another important component, treat the new combination as something that needs to be evaluated again.
Selling candles introduces more layers of product-safety responsibilities. Labeling, insurance, business registration, taxes, product safety, and other requirements should be researched separately for your location and business.
You do not need to solve all of those questions before making your first test candle. You do need to solve them before treating an experimental candle as a finished retail product.
Final thoughts
The best setup for beginner container candle making is not necessarily the largest one. It is a small, coherent system whose components are designed to work together.
Start with one wax, one vessel, one fragrance, and a small range of appropriate wicks. Measure carefully, keep records, and let your burn tests tell you what needs to change.
Spend first on measurement, compatible materials, and testing.